Travis came over this weekend to help me finish riveting the mid fuselage floor skin to the bulkheads. It was nice having him over again to help with the riveting. He, and many others helped a lot on the 9 when I was building it but the 10 has been a little different in that I have found ways to do most of the riveting solo.
I started on the Firewall this weekend and I will say that it seems to be much easier than the 9 firewall. Maybe its just experience but it seems to go together much easier and there are fewer self manufactured parts in this firewall. More detail in the pictures below.
I have a few modifications to make to this next section of the plans. First I had to drill another hole in the firewall for a return fuel line. I plan on having either a EFI fuel return of at least a purge valve to help with hot starts. Next I am cutting access panels into the side of the tunnel so I have better access to the fuel pumps and related fuel system components. That requires a backing plate and a cover plate so I designed a pair and then started the cutting process this weekend (on the CNC). So far I've made two covers but no backing plates. There are a couple of changes that I still don't know about yet that will have to have a modification made to the firewall. First I don't plan on using Van's method of oil cooler mount. It basically bounces the air flow off of the firewall and then back into the oil cooler. I think I can come up with a little better system than that. Second, I plan on using stainless steel eyeball type control cable penetrations and the three small holes that Van's put in the firewall for this purpose are too close together for the 1" eyeball. So a little work will be required there.
 |
| This is the mid fuselage section that Travis and I riveted the floor skins to. Notice the bubble wrap? Well those two bulkhead frames kept poking me in the face... |
 |
| Oh yea, another modification that required some custom work. This is the fuel selector mounting plate. The Andair duplex valve that I purchased is different than the one Van's supplies in the kit. So I had to modify the mounting plate to fit the new valve. You can see the part that I cut out (blue) and the new section riveted to the side flanges. |
 |
| Here are some measurements for the access plate that I am putting into the tunnel walls. |
 |
| And here is the CNC happily cutting away on the first cover plate. |
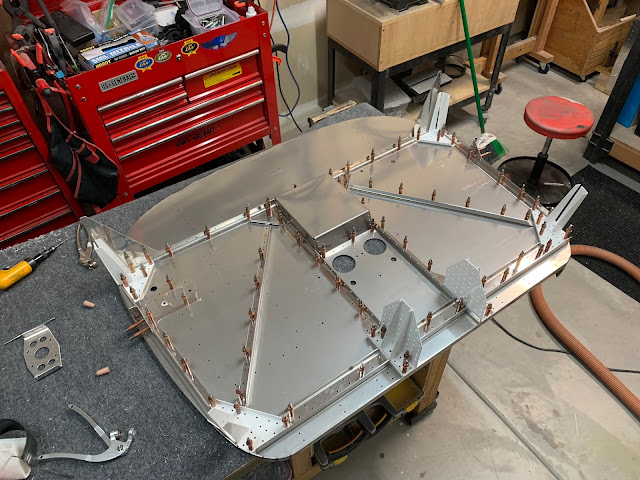 |
| And finally, after several hours of deburring both the aluminum parts as well as the stainless steel firewall parts I was able to fully cleco the firewall together. Next up is the round of final drilling the holes before disassembly. See those steel plates on the bottom of the firewall that look like shovel heads? Well those are not on the 9A firewall. On the 9 I had to fabricate some beefy aluminum angle and I remember that giving me all kinds of fits. In fact I had to drill them both out and "bend" the flanges to get everything to line up during final assembly. |


